Problem · indicator lights
What your Sub-Zero indicator and service lights mean
A flashing display or a lit indicator on a Sub-Zero is usually a message, not a breakdown. Here is what each light and icon is telling you — and which ones you can clear yourself versus when to call a South County specialist.
$89 service call, waived when you book the repair · 365-day warranty on all labor.
Quick answer
Most Sub-Zero lights are status indicators, not faults. A steady service or clean-condenser alert is a maintenance reminder; vacation, max/quick cool and dual-zone icons just show the mode the unit is in; a door-ajar or high-temp alarm warns that air is leaking or a compartment is too warm. Confirm the door seals, clean the condenser, and note the indicator. If a real warning will not clear, book a diagnosis — the $89 service call is waived when you book the repair.
Sub-Zero lights and icons — what each one means
Match the indicator on your display or control panel to its meaning and the right next step. Exact wording and symbols vary by series and model year.
| Light / indicator | What it means | What to do |
|---|---|---|
| Service light / wrench or “SERVICE” alert | A maintenance reminder or a stored fault the control wants checked — often a condenser-cleaning interval or a sensor reading out of range | Clean the condenser and note the indicator; if it returns after cleaning, book a diagnosis to read the stored cause. |
| Clean-condenser / “CLEAN” reminder | A scheduled prompt to vacuum the condenser — it appears on an interval, not because the unit has failed | Vacuum dust from the grille and condenser, then clear the reminder per your model; in dusty inland Gilroy air it returns sooner. |
| Vacation mode icon | A normal energy-saving mode that relaxes the fresh-food temperature while you are away | Switch it off if you did not intend it; nothing is broken. |
| Max / Quick Cool icon | A boost mode running the compartment colder for a set time after a big restock | Let it finish or turn it off manually; it ends on its own. |
| Door-ajar indicator / chime | A door or drawer has not sealed — most common cause of a warm compartment and a high-temp alarm | Re-seat the door, clear obstructions, and check the gasket for tears or a poor seal. |
| High-temp / temperature alarm | A compartment has drifted above its target — from a door left open, a recent power event, or a real cooling fault | Confirm doors seal and give it a few hours to recover; if it stays warm, book a cooling diagnosis. |
| Dual-zone / split-display readings | Independent fridge and freezer (or dual wine zone) readouts confirming each side’s set point and temperature | Confirm each set point; a single zone reading far off usually points to a sensor or airflow fault on that side. |
| Flashing numbers or blank display | A control reset, a power interruption, or a sensor signal the board cannot read | Note the pattern; if it does not settle after the unit recovers, have the sensor and control checked. |
We describe indicators generally — symbols, words and intervals differ across Classic, BI, PRO, UC and 500/600/700 series. We confirm the stored cause with proper testing before replacing any part.
How urgent is the light? A quick triage
Not every indicator needs a phone call today. Sort what you are seeing by urgency before you decide.
| What you see | Urgency | How soon to act |
|---|---|---|
| High-temp alarm with food warming | Act now | Move perishables, keep doors shut, and book a same-route diagnosis today. |
| Door-ajar warning that will not clear | Soon | Re-seat the door and check the gasket within a day or two before it warms the compartment. |
| Service light returning after a condenser clean | Soon | The control has stored a real cause — schedule a diagnosis this week. |
| Clean-condenser reminder | Routine | Vacuum the condenser when convenient, then clear it; no rush. |
| Vacation, max/quick cool or dual-zone icon | No action | A mode, not a fault — switch it off if you did not mean to set it. |
When in doubt with a warming compartment, treat it as urgent. Call (650) 668-1172 and we fit it into the same or next South County route day.

Status vs. fault
A lit indicator is a message — read it before you worry
Sub-Zero designed these indicators to tell you something useful, not to scare you. The trick is separating a mode (vacation, max cool, dual-zone readouts) from a maintenance reminder (clean condenser, service) from a real warning (door ajar, high-temp alarm). Most lights people panic over fall in the first two groups and clear with a quick setting change or a condenser cleaning.
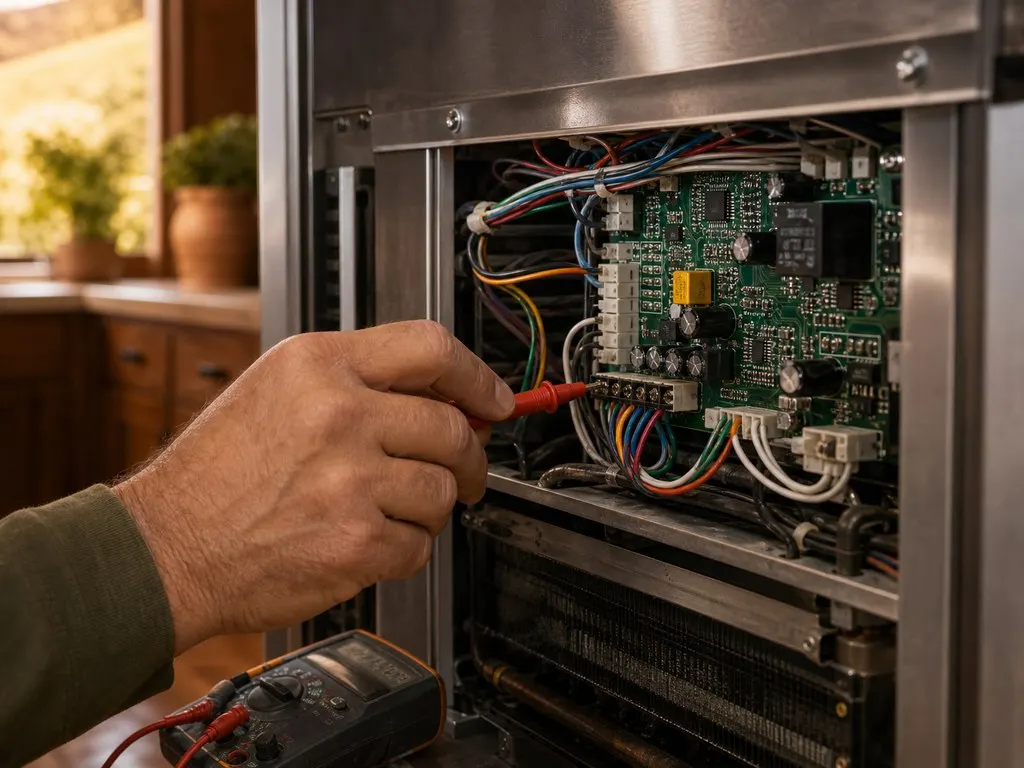
The few that matter usually point at one underlying issue: a door not sealing, a condenser choked with the fine dust common to inland South County kitchens, or a temperature sensor reading out of range. We start by reading the indicator and the stored history on the control, then verify with factory-spec diagnostics rather than guessing — so you are not paying to replace a board when a temperature sensor or a gasket is the actual cause.
- Clean-condenser and service reminders usually clear after a proper condenser cleaning.
- Door-ajar and high-temp alarms most often trace to a worn or poorly seated gasket.
- A single zone reading far off points to a sensor or airflow fault, not a dead fridge.
- Genuine OEM parts and a 365-day labor warranty on every repair.
Quick answers
Sub-Zero light meanings — quick answers
What do the Sub-Zero icons mean?
They show modes and reminders — vacation, max/quick cool, clean-condenser, service and dual-zone readouts — plus warnings like door-ajar and high-temp. Most are status, not a fault.
How do I clear the service light?
A clean-condenser or service reminder usually clears after you vacuum the condenser and reset per your model. If it returns, the control has stored a real cause to check.
Is a service light serious?
Usually not. It is most often a maintenance prompt. It only signals a fault when it returns after cleaning or comes with a high-temp alarm or warm compartment.
What does a diagnosis cost?
The diagnosis is a flat $89 service call that reads the stored cause, waived when you book the repair; most repairs then land in the hundreds.
Reviews
Indicator and sensor work across South County
The service light kept coming on and I had no idea what it meant. They explained the indicator, cleared the underlying condenser warning, and showed me what to watch for. No mystery, no scare tactics.
I thought my Sub-Zero needed a whole new board, but the tech checked the temperature sensor first and it was just a faulty thermistor. Saved me a fortune. He even showed me how to read the display before calling next time.
Our built-in Sub-Zero stopped holding temperature the week of a family party. They came out to Eagle Ridge, diagnosed a failing evaporator fan, and had it cold again the same visit. The $89 service call was waived once we approved the repair — straightforward and honest.
My Sub-Zero kept short-cycling and the temperature alarm wouldn’t stop. The tech showed me the airflow problem and the worn gasket on the door, fixed both, and walked me through how to keep it from happening again.
FAQ
Sub-Zero indicator lights — FAQ
What do the symbols and icons on my Sub-Zero mean?
My Sub-Zero service light is on — what now?
How do I reset a Sub-Zero indicator light?
Is a flashing Sub-Zero display dangerous or urgent?
The door-ajar indicator is on but the door is shut — why?
Do the dual-zone lights mean something is wrong?
Can I keep using the fridge while a light is on?
Will you need to replace the control board for a service light?
Related Sub-Zero help

Not sure what the light is telling you? We’ll read it.
Book a Sub-Zero diagnosis with a local South County specialist — we read the stored cause and the $89 service call is waived when you book the repair.
$89 service call, waived when you book the repair · 365-day warranty on all labor.